The DHCP database can be moved or migrated from a Windows Server 2003 server to a Windows Server 2008 server, or from one Windows Server 2008 server to another. The information below details the necessary steps.
Export the DHCP database from a server that is running Microsoft Windows Server 2003 or Windows Server 2008
To move a DHCP database and configuration from a server that is running Windows Server 2003 or Windows Server 2008 to another server that is running Windows Server 2008:
1. Log on to the source DHCP server by using an account that is a member of the local Administrators group.
2. Click Start, click Run, type cmd in the Open box, and then click OK.
3. Type netsh dhcp server export C:\dhcp.txt all , and then press ENTER.
Note: You must have local administrator permissions to export the data.
Configure the DHCP server service on the server that is running Windows Server 2008
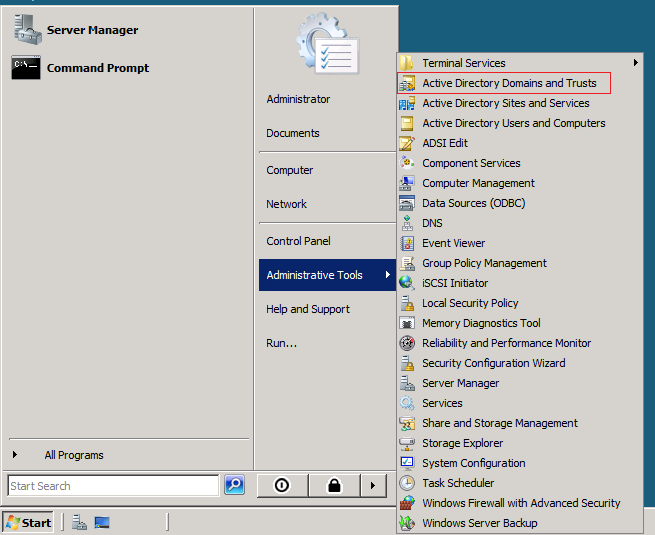
1. Click Start, click Administrative Tools, click Server Manager. If needed acknowledge User Account Control.
2. In Roles Summary click Add Roles, click Next, check DHCP server, and then click Next.
Import the DHCP database
1. Log on as a user who is an explicit member of the local Administrators group. A user account in a group that is a member of the local Administrators group will not work. If a local Administrators account does not exist for the domain controller, restart the computer in Directory Services Restore Mode, and use the administrator account to import the database as described later in this section.
2. Copy the exported DHCP database file to the local hard disk of the Windows Server 2008-based computer.
3. Verify that the DHCP service is started on the Windows Server 2008-based computer.
4. Click Start, click Run, type cmd in the Open box, and then click OK.
5. At the command prompt, type netsh dhcp server import c:\dhcpdatabase.txt all , and then press ENTER, where c:\dhcpdatabase.txt is the full path and file name of the database file that you copied to the server.
Note When you try to export a DHCP database from a Windows 2000/2003 domain controller to a Windows Server 2008 member server of the domain, you may receive the following error message:
Error initializing and reading the service configuration – Access Denied
Note You must have local administrator permissions to import the data.
6. To resolve this issue, add the Windows Server 2008 DHCP server computer to the DHCP Admins group at the Enterprise level and redo steps 4 & 5.
7. If the “access is denied” error message occurs after you add the Windows Server 2008 DCHP server computer to the DHCP Admins group at the Enterprise level that is mentioned in step 6, verify that the user account that is currently used to import belongs to the local Administrators group. If the account does not belong to this group, add the account to that group, or log on as a local administrator to complete the import and redo steps 4 & 5.
Authorize the DHCP server
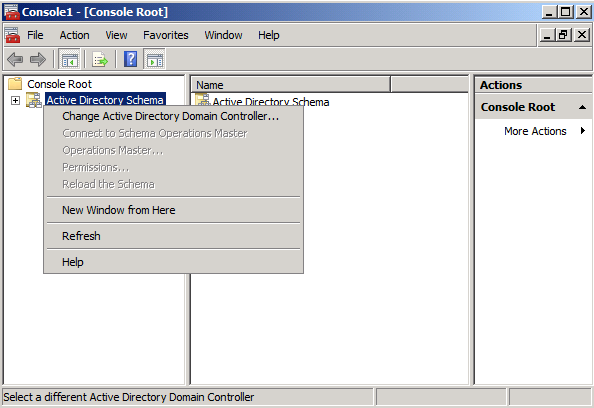
1. Click Start, point to All Programs, point to Administrative Tools, and then click DHCP.
Note You must be logged on to the server by using an account that is a member of the Administrators group. In an Active Directory domain, you must be logged on to the server by using an account that is a member of the Enterprise Administrators group.
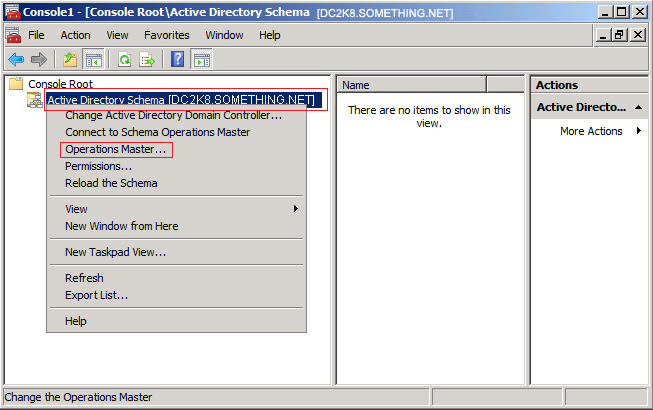
2. In the console tree of the DHCP snap-in, expand the new DHCP server. If there is a red arrow in the lower-right corner of the server object, the server has not yet been authorized.
3. Right-click the server object, and then click Authorize.
4. After several moments, right-click the server again, and then click Refresh. A green arrow indicates that the DHCP server is authorized.


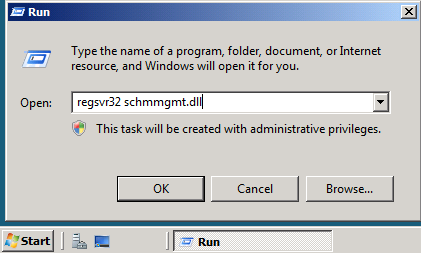
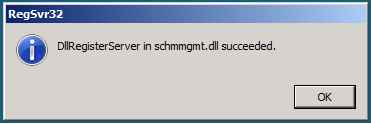 A popup message will confirm that schmmgmt.dll was successfully registered. Click OK
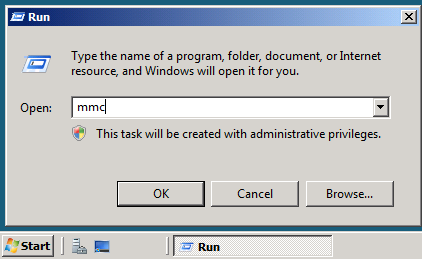
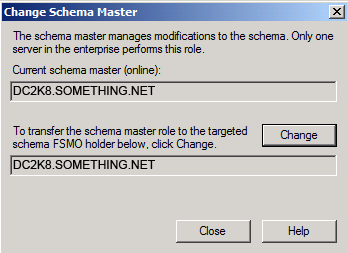
 You will receive a message box stating that the schema snap-in is not connected to a schema operations master. That is for sure, as we have not yet set this Windows Server 2008 domain controller as a Schema Master role holder. This will be done in the next step. Click OK
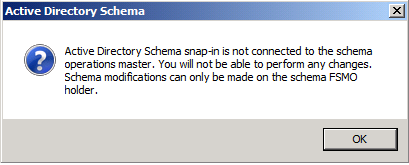
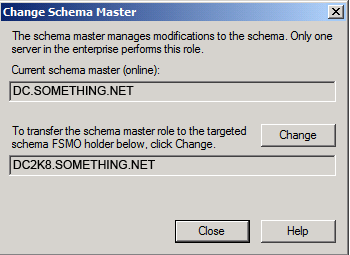 Click Yesto confirm the role transfer
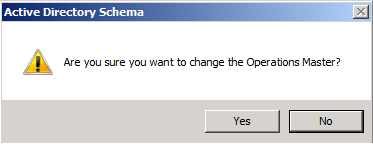
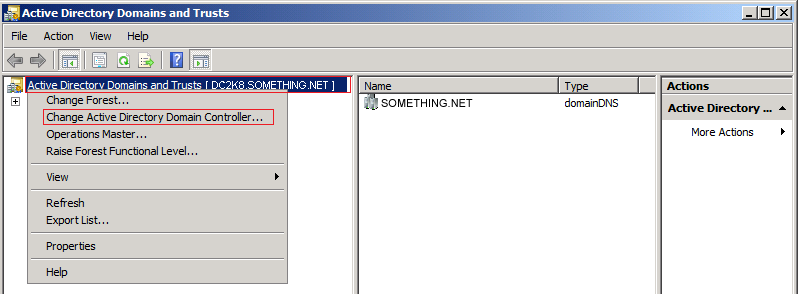

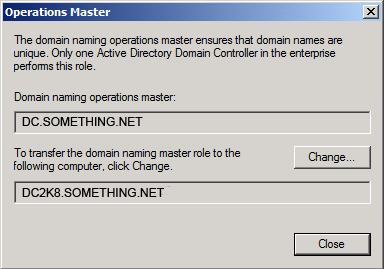 Click YES to confirm the transfer of the Domain Naming role
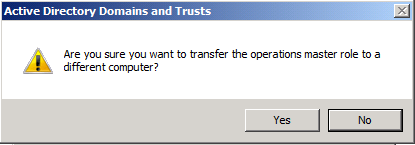 The role will be transferred and a confirmation message will be displayed. Click OK , then click Close
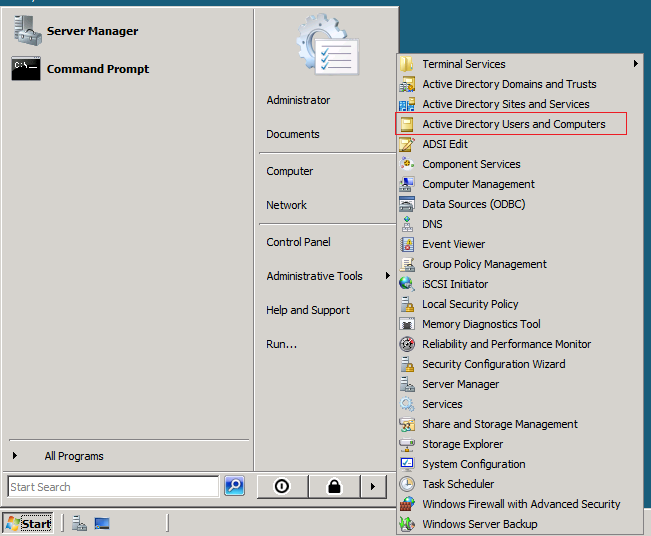
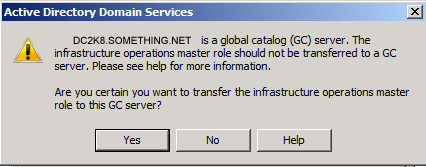
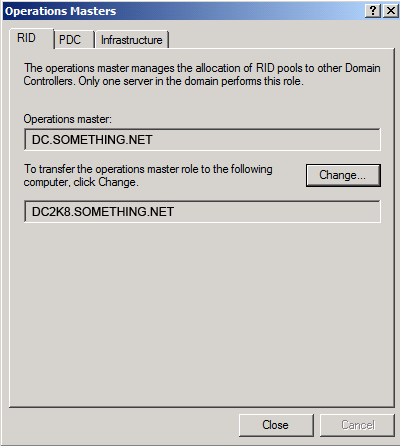 Click Yes to confirm the role transfer
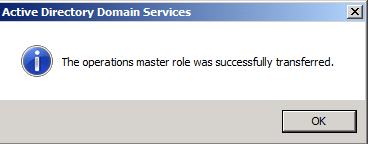 As for the Infrastructure role, once you click on the Change button you will receive the below message